I found out about the enchanting Staghorn Fern while scrolling through Instagram one morning. The fern that initially caught my eye was kept in a hanging basket, but as I continued to research the plant, I learned that they’re just as happy to “hang out” on a wall. It was perfect timing – I love adding new and interesting plants to the family and I had an empty wall I was struggling to fill. Here are my tips and tricks for creating a living, breathing work of art!
Tools & Materials:
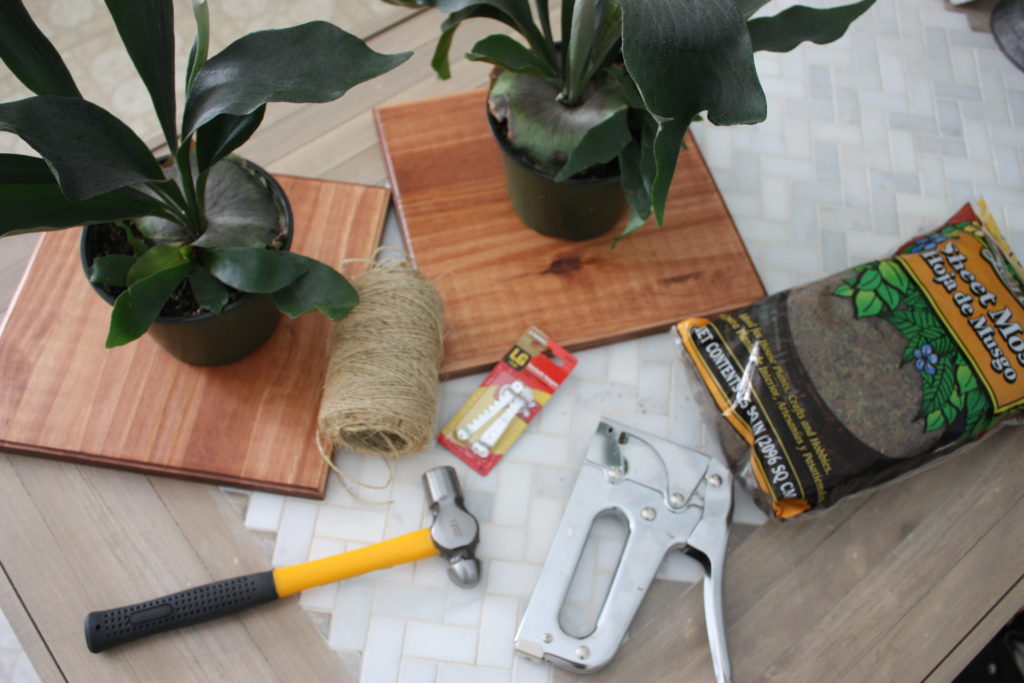 Healthy potted Staghorn Fern
- Mounting board (I used pine boards that I edged and stained, but you can get as creative as you want here)
- Water-based Stain
- Water-based Satin Polyurethane
- Sheet Moss
- Bowl, or other circular object for tracing
- Pencil
- Hanging Brackets
- Twine, or Fishing Line
- Scotch Tape (if using twine, or similar type of string)
- Staple Gun & Staples
- Hammer
- Water
Instructions:
ONE: Prepare your wood mounting base.
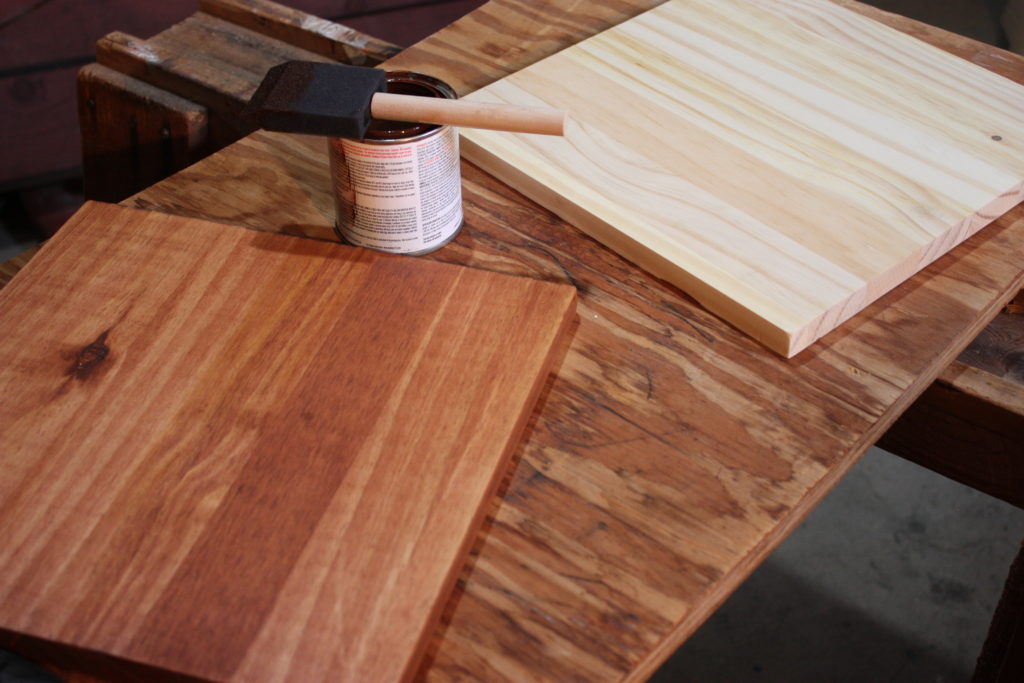
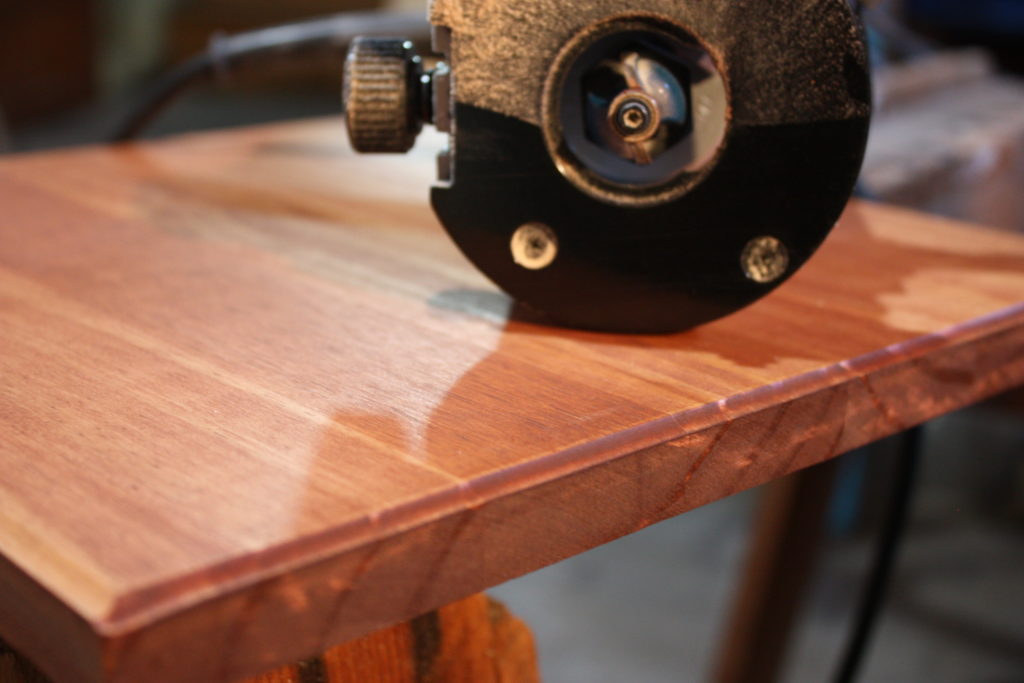
Your options for a base are endless. Pallet wood, split logs, old crates, trunk cross sections, etc. are all possibilities. Because the base will undergo constant soaking as part of ongoing care, I initially wanted to use cedar, which is naturally moisture resistant. Unfortunately, my local Home Depot didn’t have any cedar in stock at the time, so I ended up using pine. To prep my wood, I cut the boards down to the size and shape I wanted and finished the edges with my router. I then sanded and applied a coat of stain and two coats of satin polyurethane to protect the wood from moisture and rot.
Tip: Even if you don’t plan on staining your wood, you should put at least 1-2 coats of clear polyurethane onto your wood base. Choose a satin finish to keep it natural looking. This will help ensure the longevity of your base. Ideally, you’d finish this step a few days before you plan on mounting to give the poly time to cure. Because I’m impatient, I only let mine dry for 24 hours. So far, so good, but it’s important to note that my poly was water-based – this will be much less toxic for the plant than an oil-based poly.
TWO: Attach your hanging bracket.
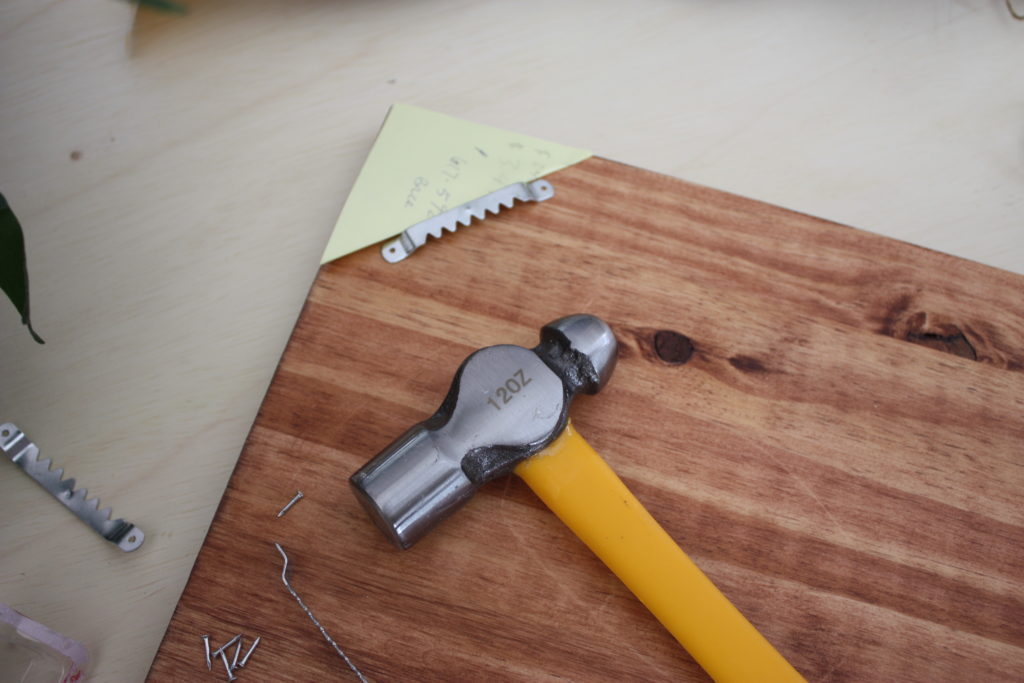
Attach your hangers according to the instructions that come with your particular brackets. It’s crucial that this is one of your first steps – trying to fasten a bracket to the back of your board with a plant anchored to the front will be challenging!
THREE: Lay out your mounting area.
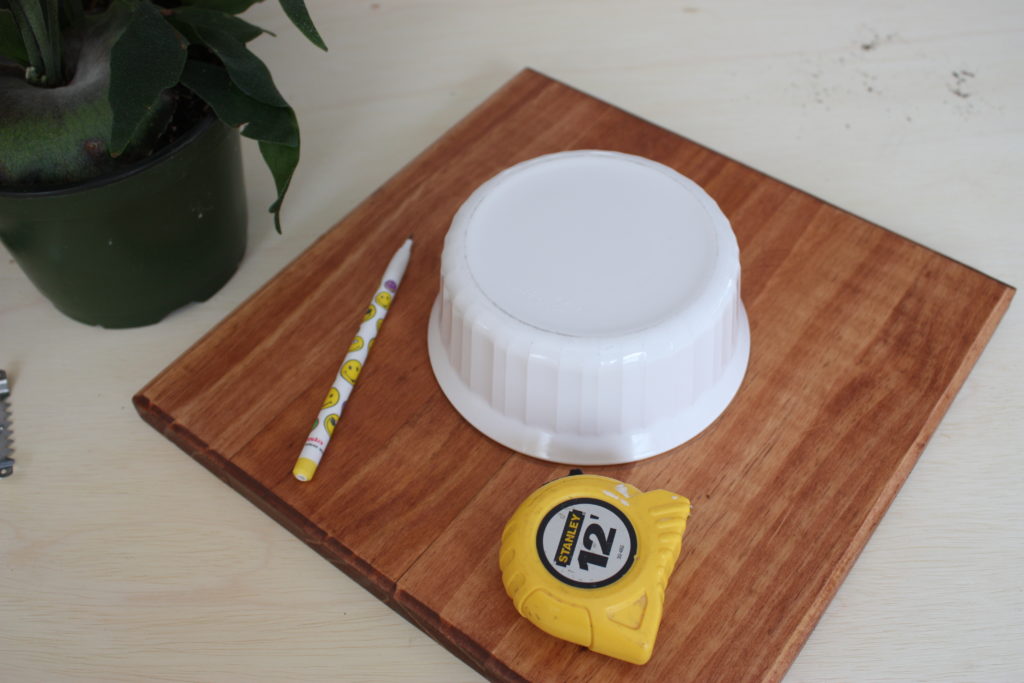
Now that your hook is secured to the back of your board, it’s time to trace out your mounting area. Whether you’re using a bowl, or other template, make sure that the circle you draw is slightly larger than the plant you’re hanging.
FOUR: Attach your staples.
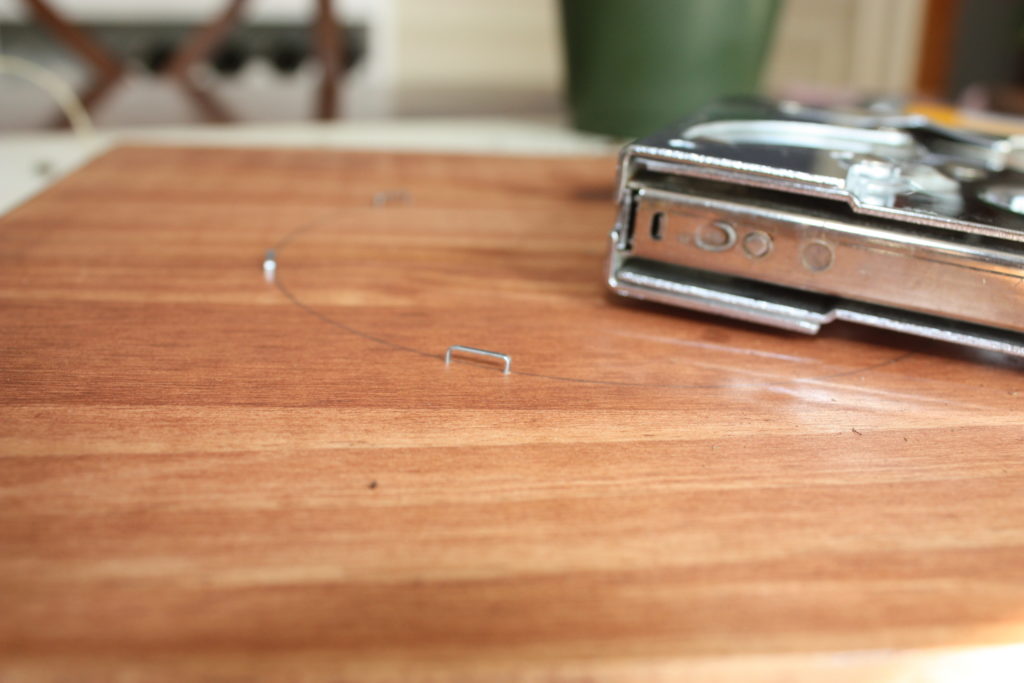
Most other tutorials I came across in my search for tips and tricks on this project used small nails as tie downs. I was worried that the twine would slip off of the nails, so I decided to use staples (plus, they’re lower profile). Use your staple gun to insert 6-8 staples into your board along the circle you traced. Be sure to press lightly – you want to leave a bit of space between the staple and the board to loop the twine through.
FIVE: Unpot your plant & add dirt base layer.

Remove the Staghorn from its pot and begin to loosen up the roots. Keep loosening until you have about an inch of dirt left on the bottom of the plant. The roots are dense, so don’t be afraid to really work them (aka: tear, or use a knife). Place a bit of the leftover dirt in the middle of your mounting area as a base layer.
SIX: Place your plant & wrap with moss.
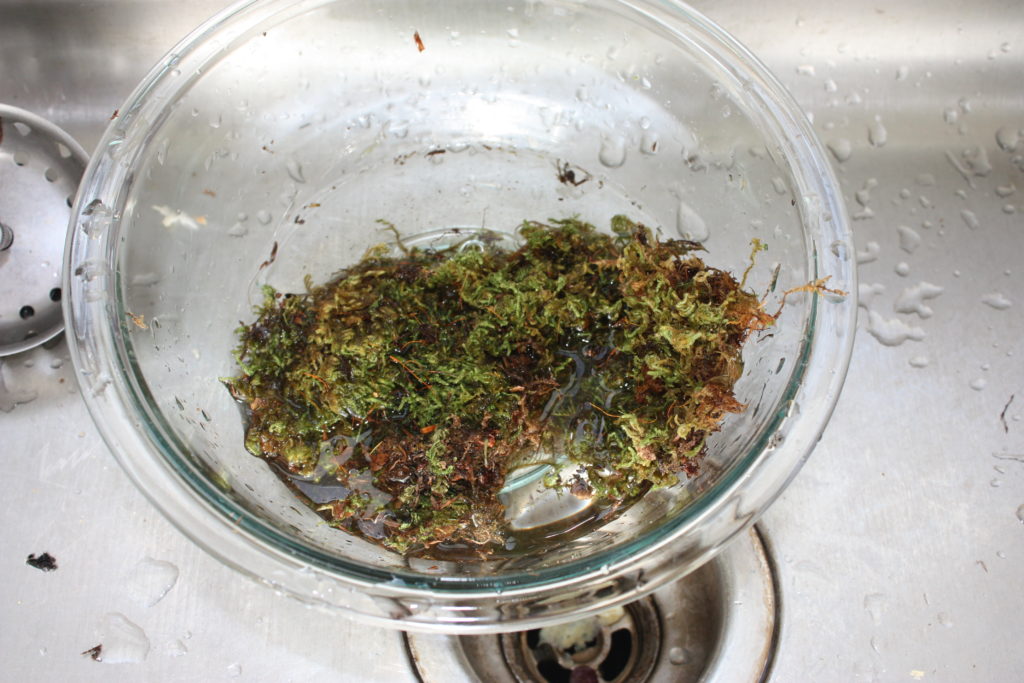
Spend a few minutes getting your plant into the perfect position. You might find it helpful to hold it up as if it were on the wall to see which angle you like best. Take note of where your hanging bracket is during this step – you don’t want to get it tied down only to find out it’s facing the wrong direction! When you’re happy with the orientation, place your plant in the center of your mounting area. Tear off bits of sheet moss and moisten slightly. Surround the base of your plant with enough moss to cover the dirt – leave the shields (flat, brownish part of the plant) uncovered.
SEVEN: Tie it tight.
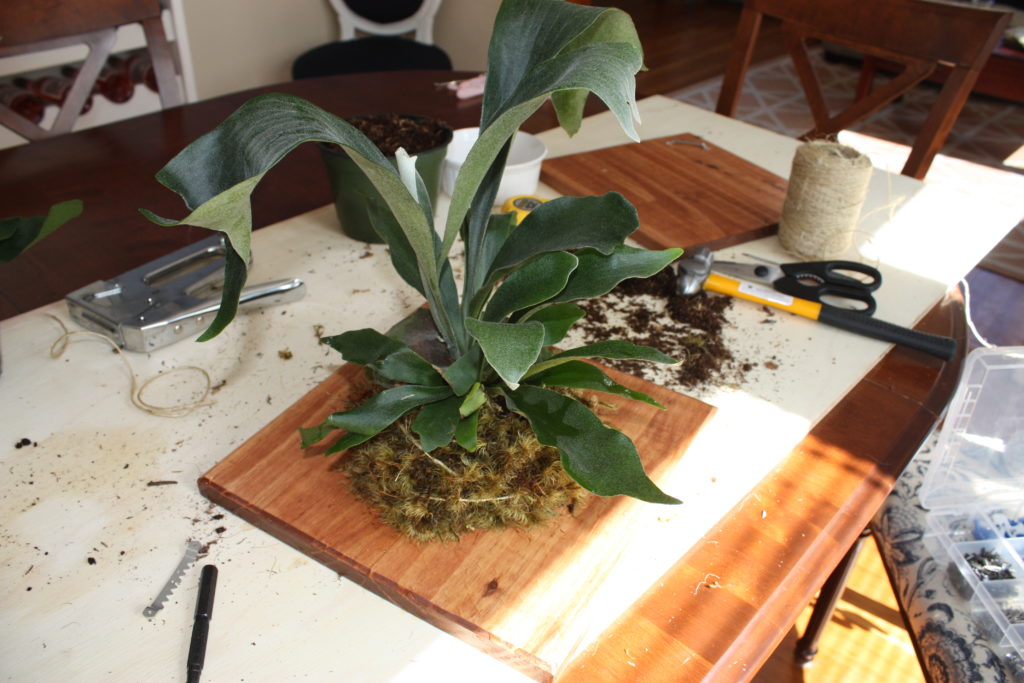
Cut about 2 feet worth of twine (fishing line works well if you prefer the invisible look). Tie a double knot to the first staple. Pulling taught, guide your twine across the base of the plant (don’t squish the shields!). Loop it through the staple on the opposite side of the board as the first one. Continue looping and criss-crossing the twine until your plant is secure. I went around twice.
Tip: You’ll find it much easier to slip the twine through the staple loops if you tape the leading end.
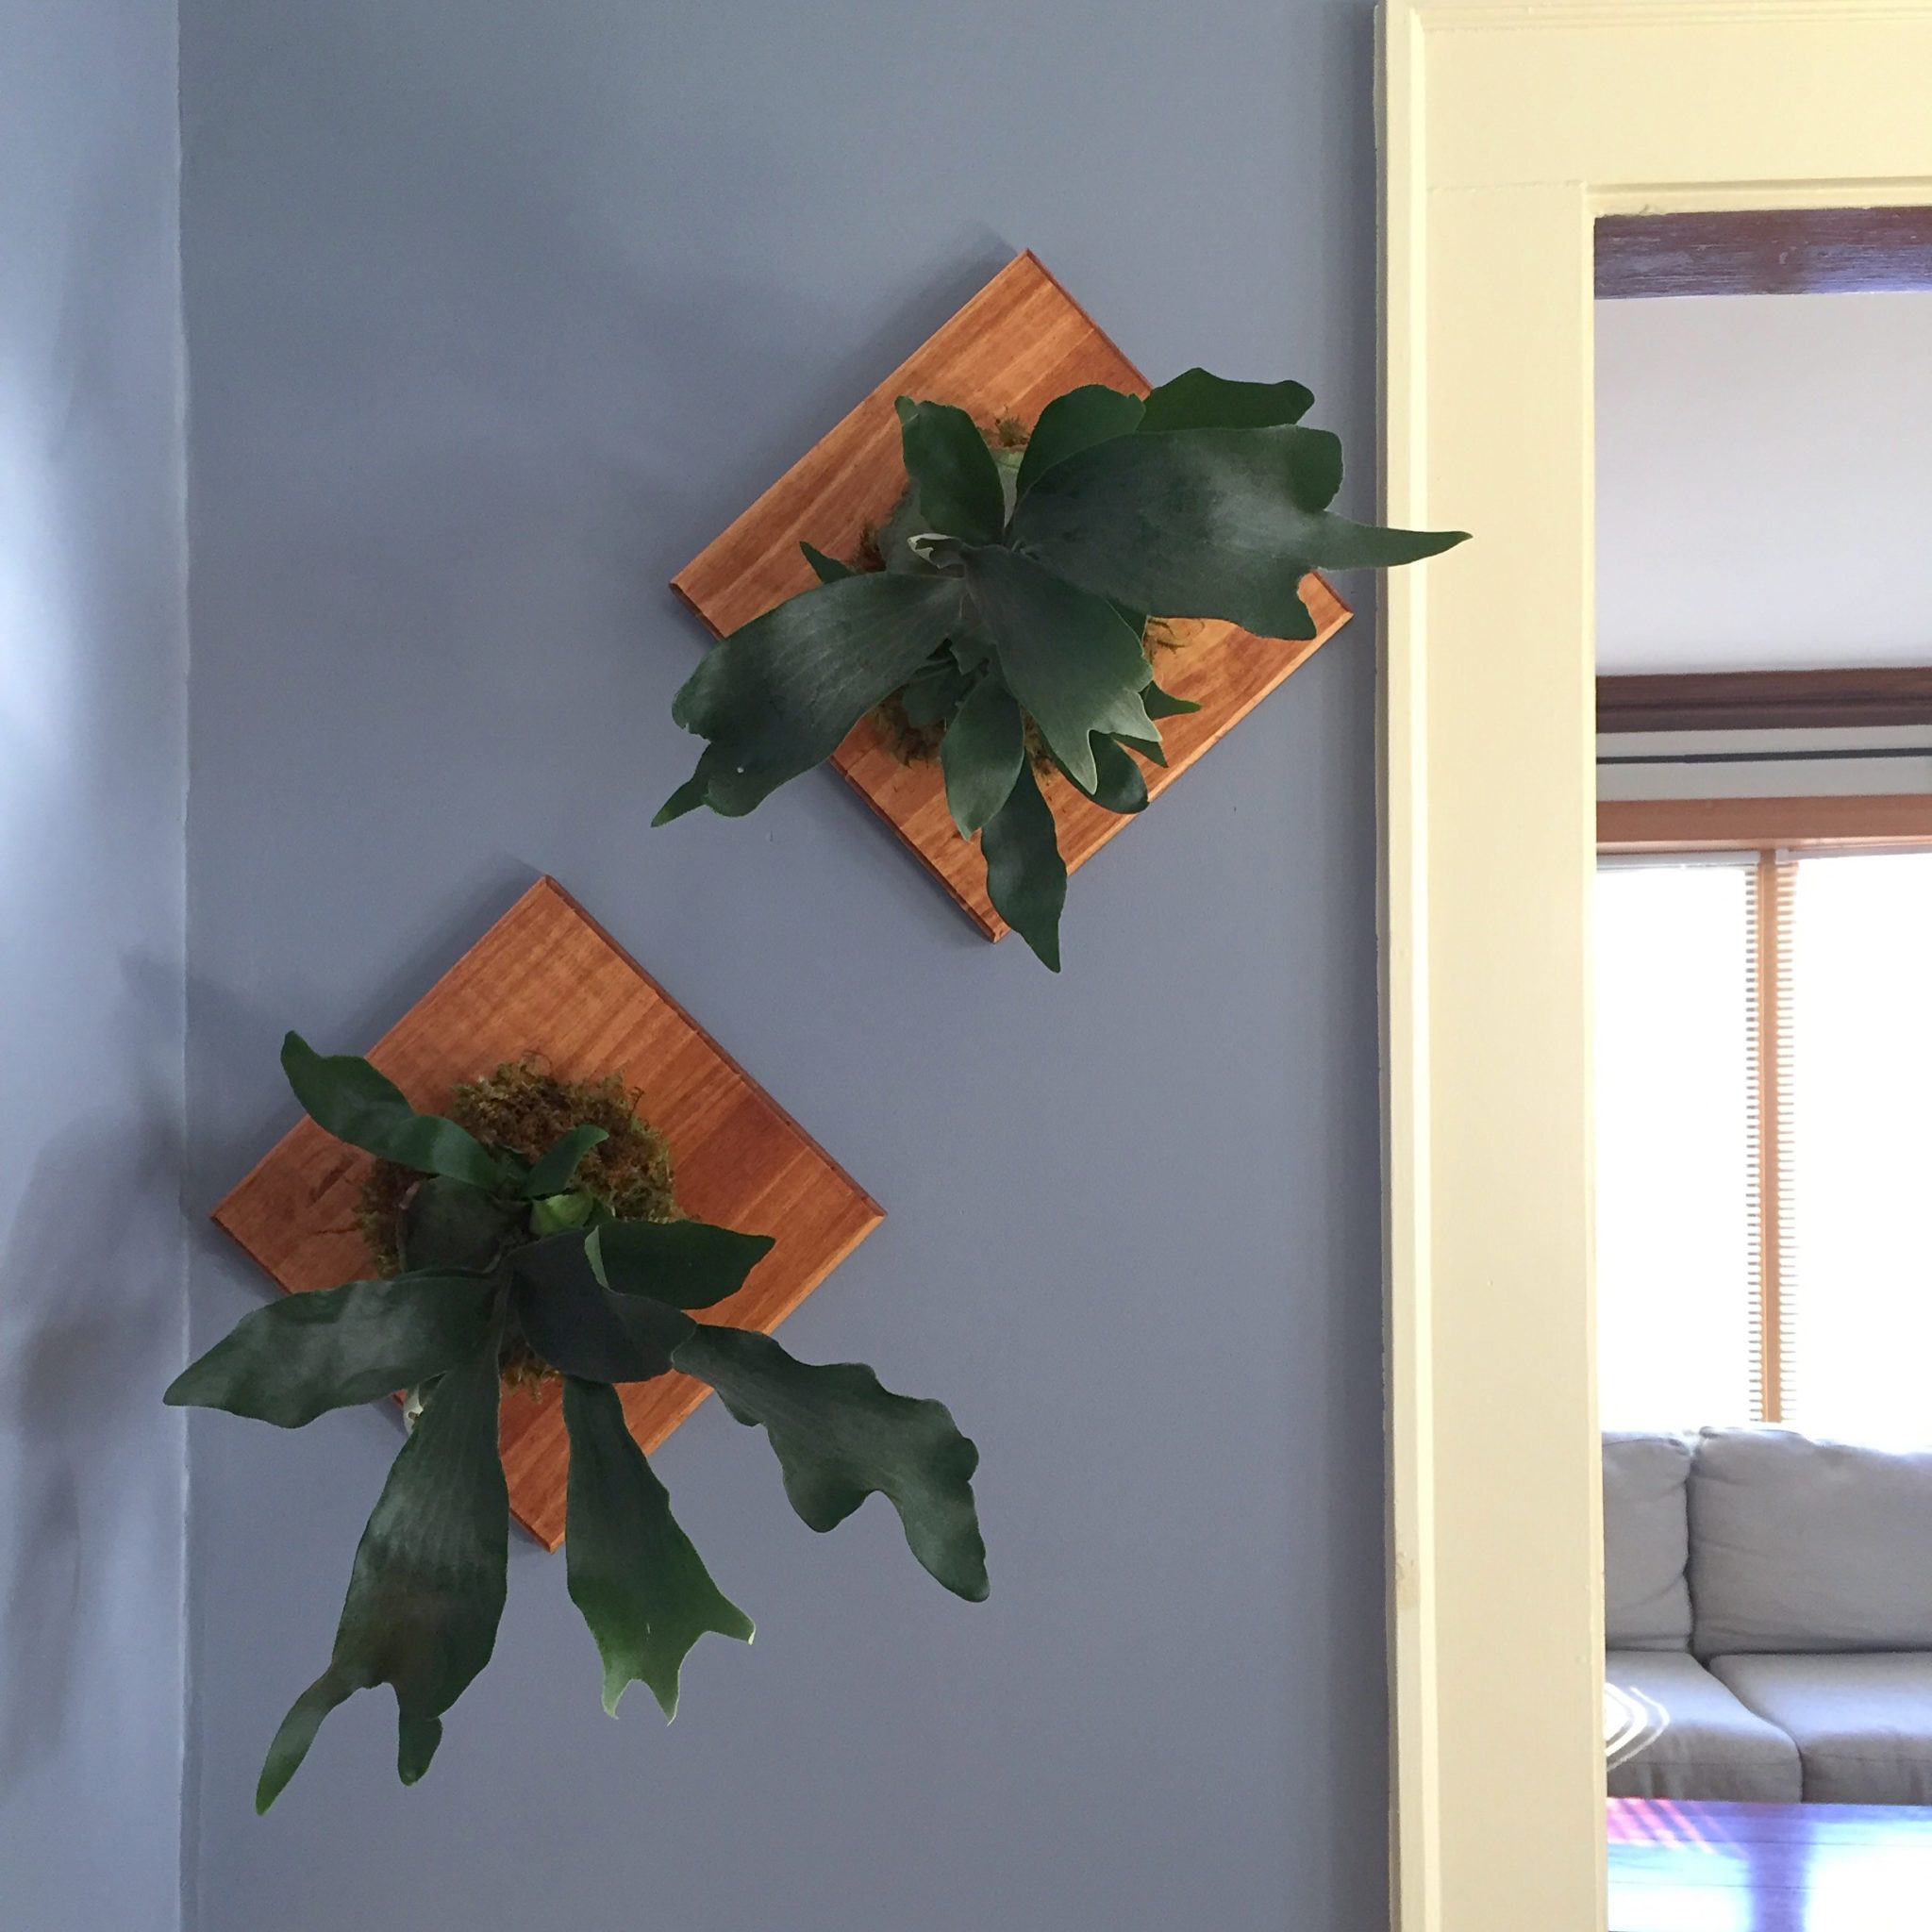
EIGHT: Water, hang and enjoy!
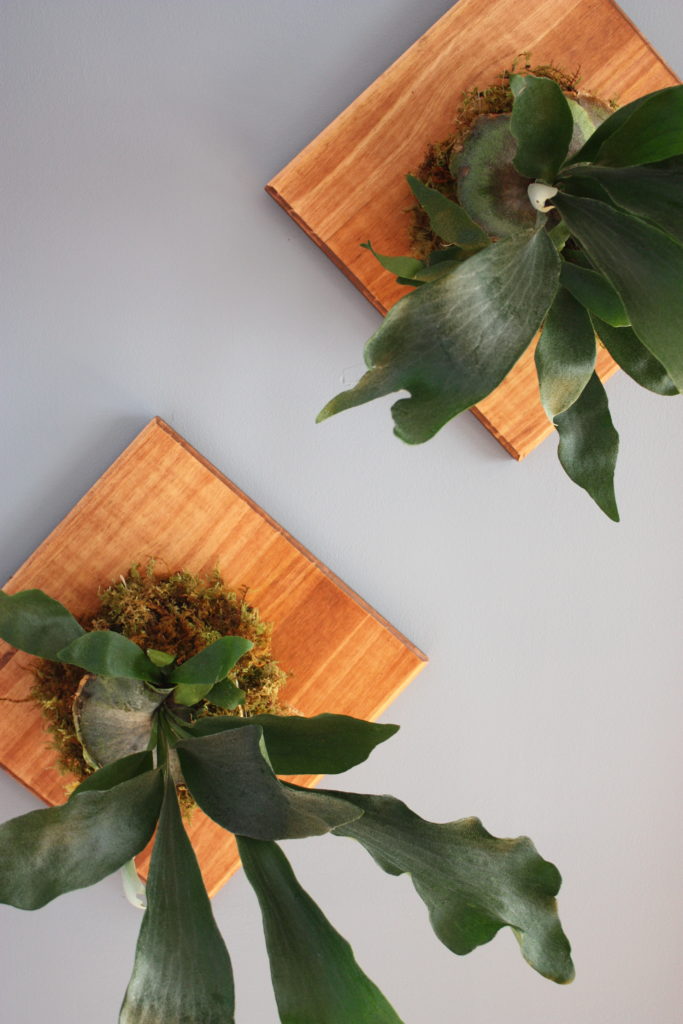
Once you finish tying, carefully lift your plant vertically and give it a tiny shake to make sure it’s firmly anchored to the board. Wipe away any stray pieces of soil and moss and admire your new, living, breathing work of art!
It’s a good idea to run the plant under water for a few minutes after you finish mounting to help ease the stress of changing environments. Drip dry and hang in a spot that gets bright, filtered light.
Ongoing Care:
Soak your Staghorn (board and all!) in a sink, or tub once a week. To avoid moisture damage on your walls, be sure to let the board dry before re-hanging. These guys really enjoy consistent moisture. Keep your Staghorn happy between waterings by misting the leaves and moss daily, or every other day.
Tip: It may be helpful to run a humidifier in the same room as your ferns if the air in your house is dry. This happens to us in the winter – the humidifier helps the humans, pup, and plants stay comfortable!
What did you think of this project? Share your experience below if you’ve tried it!