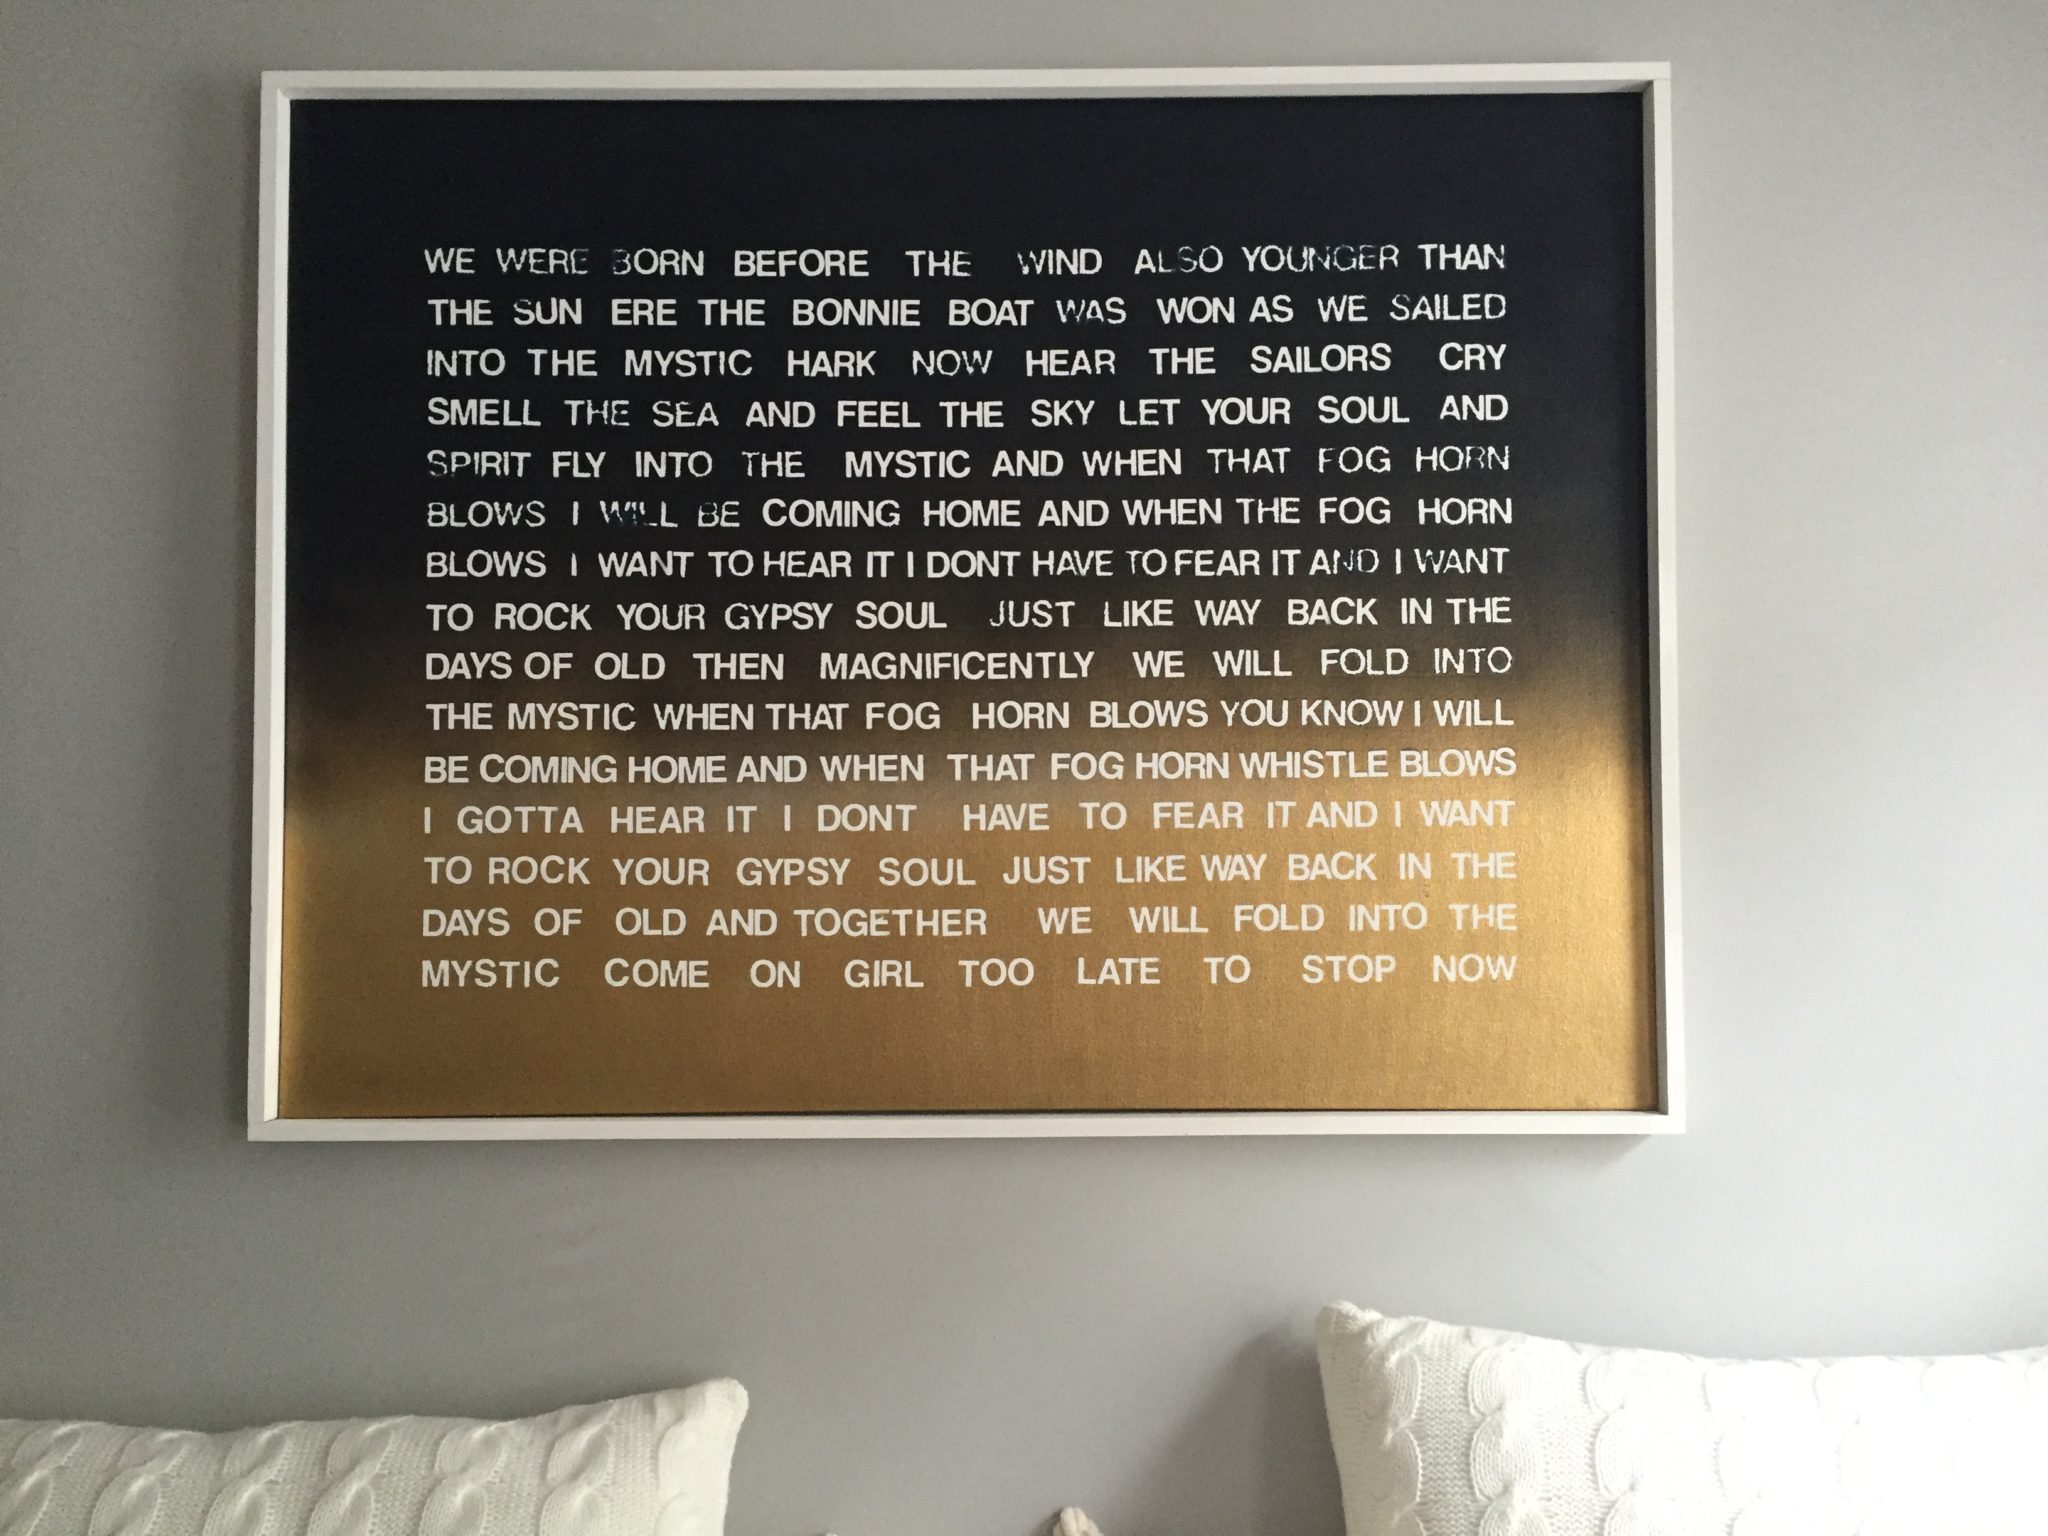
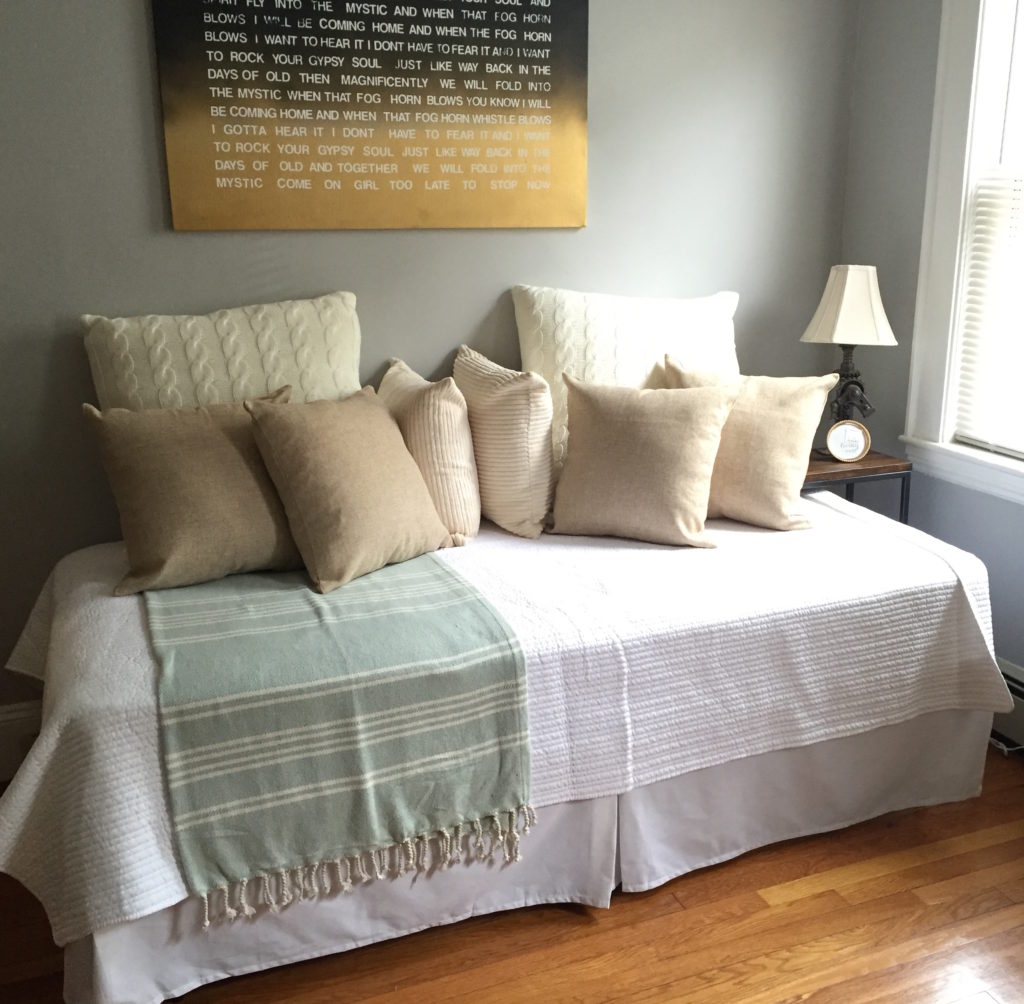
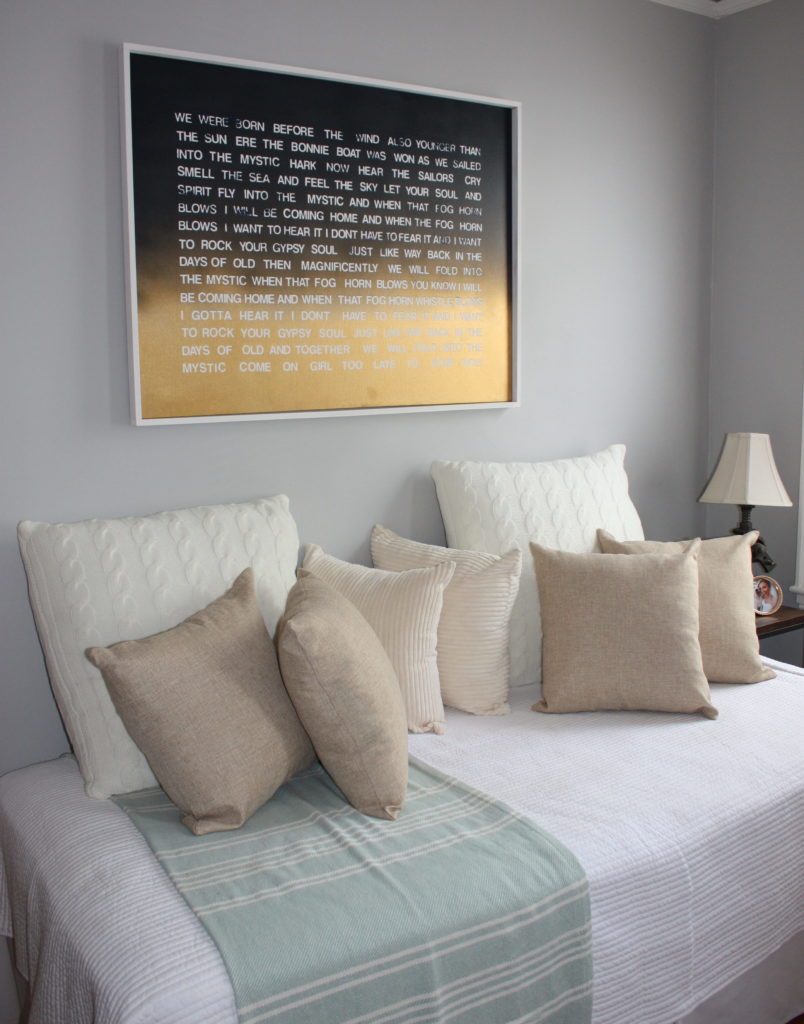
Finishing an art canvas with a float frame can help tie a piece into its surroundings and give it a more refined look. Adding frames has actually helped save some of my own artwork from being banished to the basement. A few months ago I was re-decorating my office and in the process I toyed with the idea of taking down a painting I had done of Van Morrison’s “Into The Mystic” lyrics. I loved the piece, but it just didn’t look right to me – I felt as though it was just hanging there, undefined, in the middle of the wall. It needed something, so I decided to try a float frame. Since frames are expensive, especially in larger sizes, I decided to build one myself. It turned out to be exactly what I needed and was pretty easy to make! The best part is that once you have the technique down, you can use it to frame all different types of art in just about any size. Ready to create your own? Directions below!
Tools & Materials
- 1/2 in x 1 in wood strapping
- Wood Glue
- L-Square
- Tape Measure
- Saw (I used a miter saw, but a hand saw will work if that’s what you’ve got)
- Pneumatic Nail Gun OR L-brackets & wood screws
- Hanging Brackets
- Screwdriver
- Drill
- Wood Stain or Paint
- Wood Filler
- Sandpaper
Instructions:
ONE: Gather your measurements.

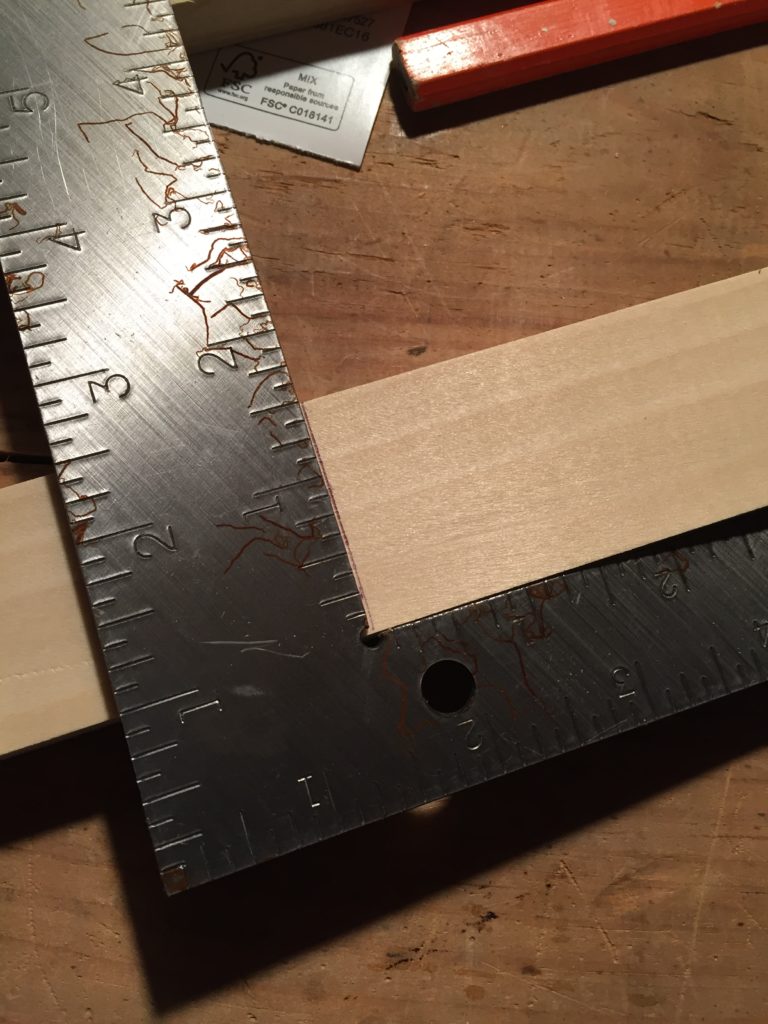
You’re going to want the frame to fit snugly around your canvas. To keep things quick and easy, I decided to use butt joints (two pieces of wood perpendicular to each other) instead of miter joints (45 degree cuts on each end of the wood joined to form a 90 angle) for the corners. If you also decide to go with butt joints, determine whether you want the tops or sides to be the cap pieces. I went with top and bottom as cap pieces. With that in mind, I started out by measuring the top and bottom, being sure to add an inch to accommodate the 1/2 in overlap needed to attach each of the sides. Next, I measured the sides of my canvas to the exact length. Using those measurements, I marked up my wood and prepared to make cuts.
TWO: Cut your wood.
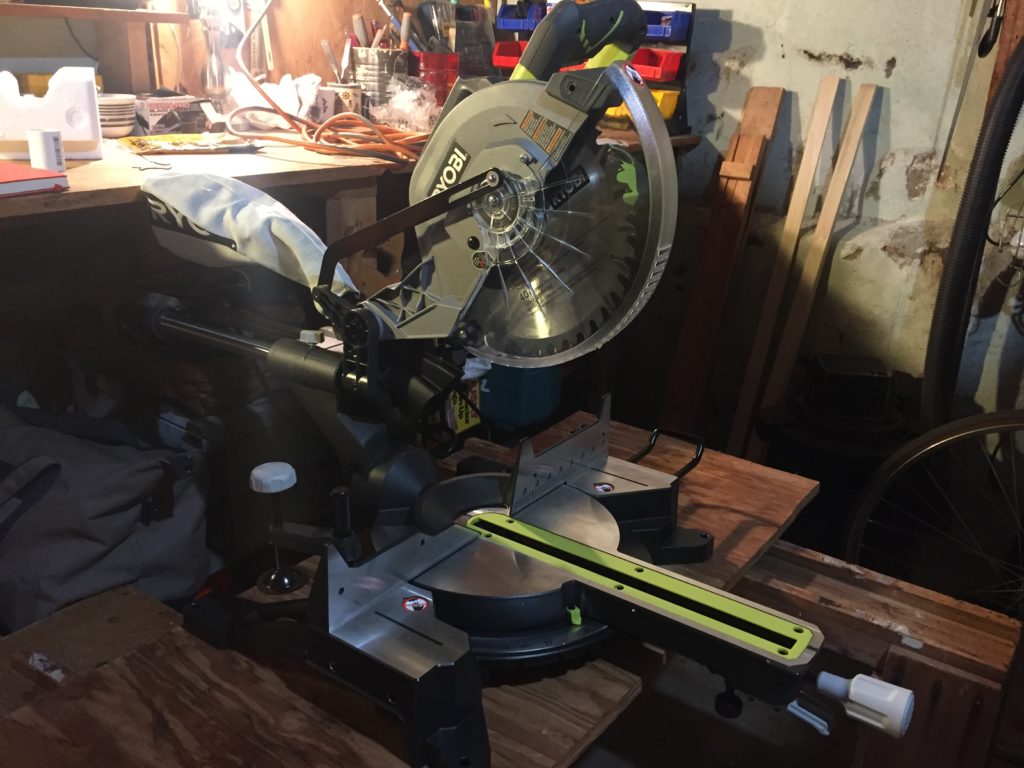
Now, take your wood and make your cuts. When you’re done, take your pieces for a test run around your canvas to make sure everything fits. Once everything looks good, sand down any rough edges and get ready to build.
THREE: Fasten your pieces.

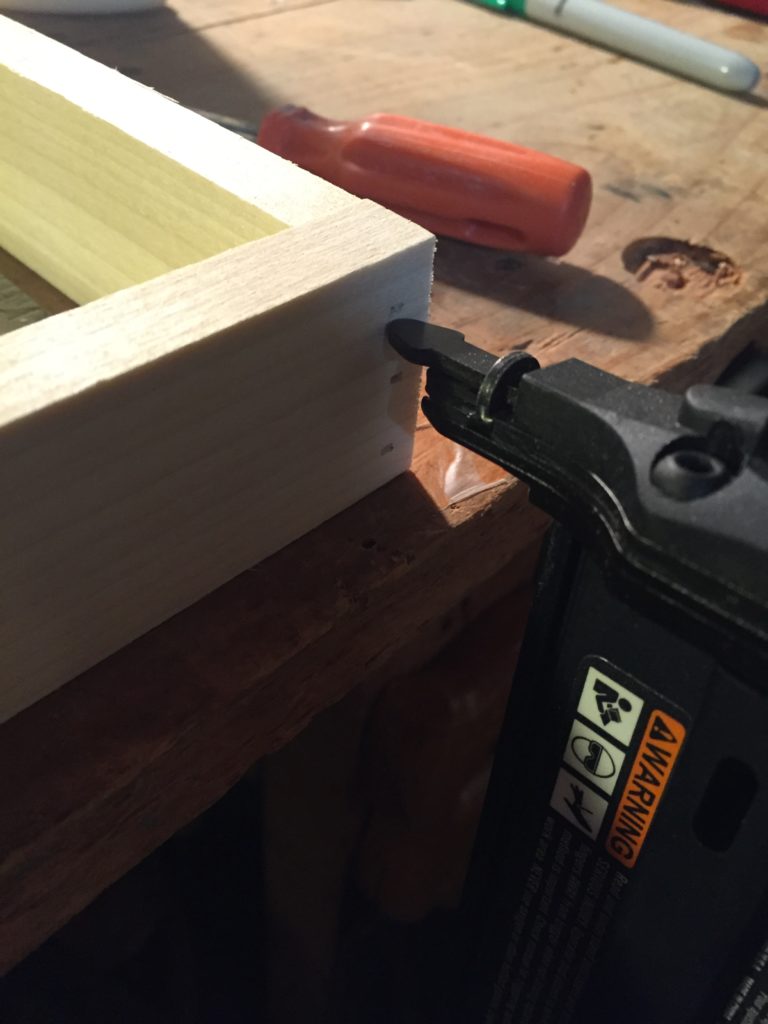
You’ll be most successful at this step if you work in sections. Start by taking one cap piece and one side piece and applying wood glue to the end of the side piece. Using your L-square to ensure a perfect 90 degree angle at the corner, press the two pieces together. If you’re using a nail gun (admittedly the easier route!), go ahead and shoot a few finish nails into the end of the joint. If you’re using brackets, mark out hole placement and carefully drill small pilot holes. Use a screwdriver to fasten your bracket with small wood screws. Repeat with the remaining two pieces of wood, then finish up by securing the two sections. Woo hoo – you have a frame! Finally, lay your frame down on a level surface and give the glue 24 hours to dry before moving on to the next step. *NOTE: Keeping the corners aligned can be tricky, so a second set of hands, or corner clamps can be really helpful.
FOUR: Add some color.
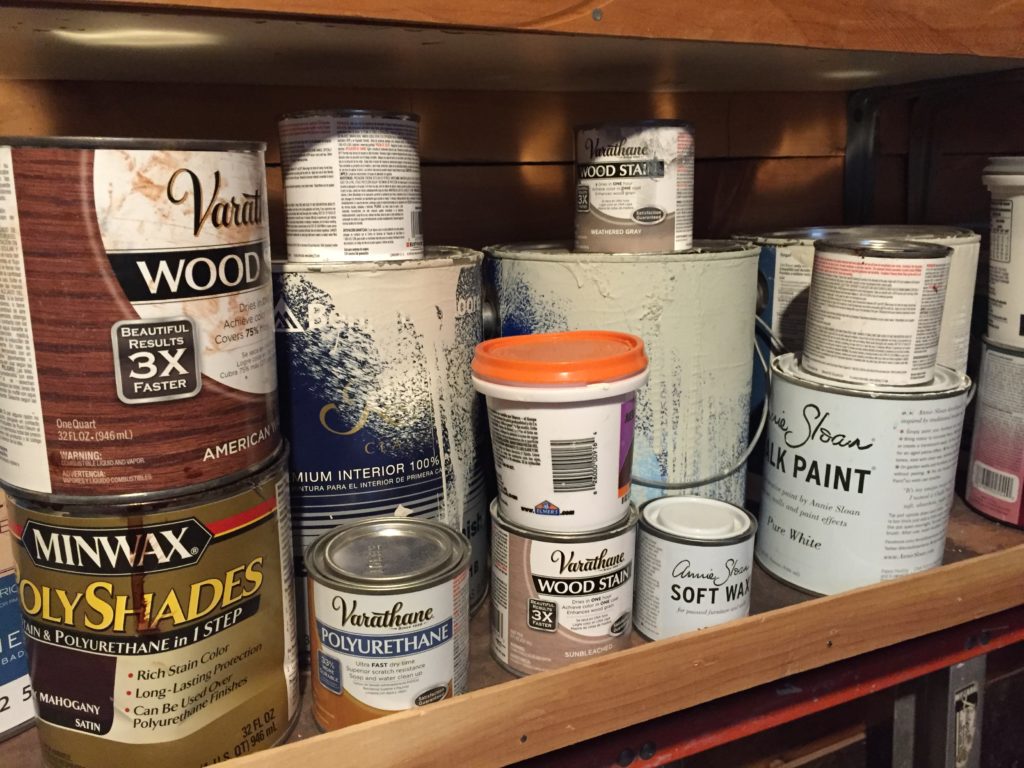
Let your creativity flow here! Think about how to best accent your artwork as well as tying it into the rest of your decor. If you’re torn on how to finish your frame, do some test runs with different colors on scrap wood. Before you apply your paint or stain, take a few minutes to patch any gaps, or nail holes with wood putty. Be sure to let your frame dry completely before inserting your artwork.
FIVE: Frame, hang and enjoy!
Applying gentle pressure, insert your canvas into your frame. Your canvas should fit snugly within your frame without the need for any additional fasteners to hold it in. If your frame is a bit big, you can use some wood joiner nails to secure the canvas to your frame. Now, sit back, relax, and enjoy your work!
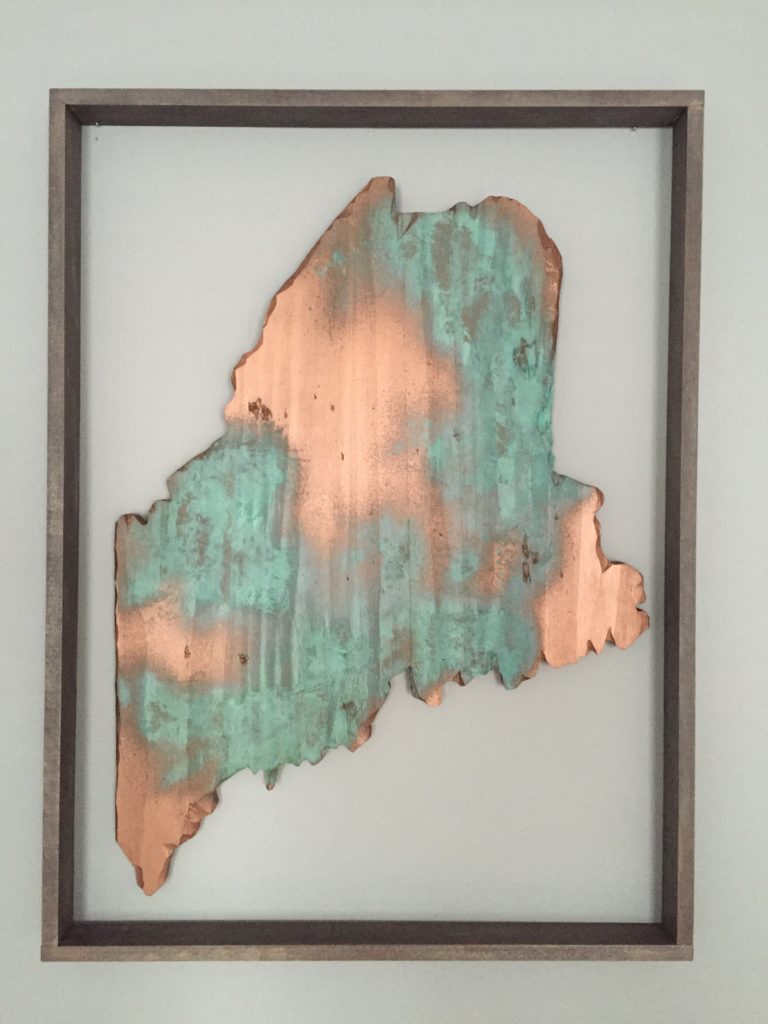
P.S. You can also use this technique to frame up some of your non-canvas artwork too!
How’d it work out for you? Comment below!